
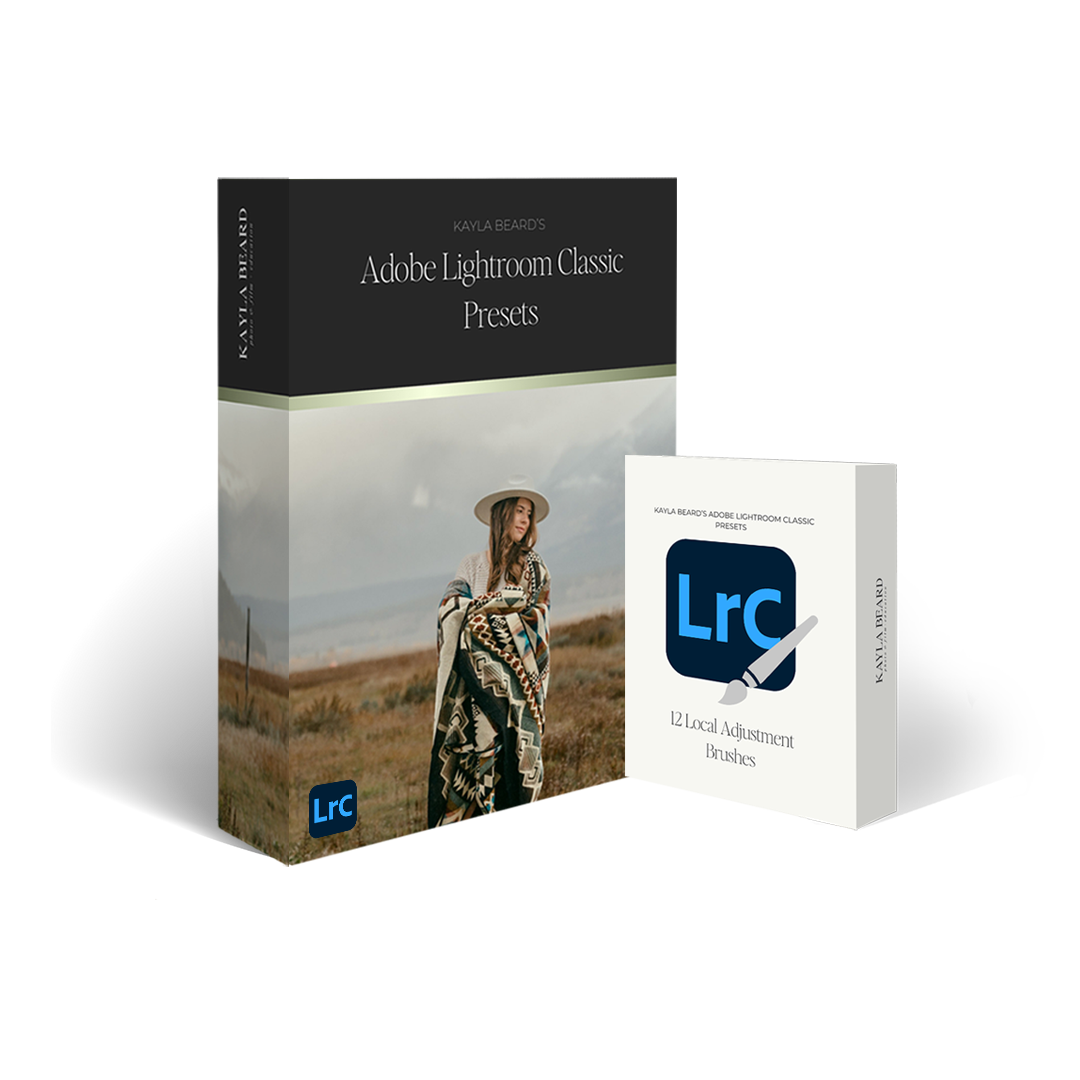
KAYLA BEARD’S ADOBE LIGHTROOM CLASSIC PRESETS
Bring out the true beauty of your raw photos with these timeless and authentic presets.


Presets were supposed to help… So why do they make editing harder?"
You click a preset, expecting magic, but instead, your image looks nothing like you envisioned. One shoot works flawlessly, and the next? A total disaster. Instead of speeding up your workflow, presets leave you feeling stuck. You hoped they would define your style, but instead, they left you overwhelmed. And when a preset doesn’t look right, you’re left wondering—How do I even fix this?
—Sound familiar? You’re not alone. But editing doesn’t have to be this way.

BEFORE

AFTER
Have presets left you feeling defeated?
✓ You click a preset… and your photo looks completely off.
✓ One gallery edits like a dream, and the next? Total chaos.
✓ Instead of simplifying your workflow, presets just slow you down.
✓ You hoped they’d help you define your style—but they left you second-guessing every choice.
✓ And when something doesn’t look right? You have no clue where to even begin fixing it.
You’re not lazy. You’re just missing a process that actually works.
Capture the Moment. Elevate the Beauty.
Professional-quality edits, effortlessly.
As a mom first and a photographer second, I know the importance of preserving memories with both authenticity and artistry. My camera captures the moments, but I wanted an editing process that enhances images with warmth, consistency, and a signature style—without hours of frustration. That’s why I created these presets: a guided system that makes editing intuitive, efficient, and beautifully yours.


✓ 33 Presets & Profiles for Lightroom Classic (7.3 or newer)
✓ 5 Base Presets to give your images a clean, professional look with just one click—perfect for consistent, time-saving edits across any shoot.
✓ 12 Local Adjustment Brushes for precise, professional edits
✓ 7 Mask Presets that target specific areas like skin, sky, or background—making precision edits faster and more intuitive than ever.
✓ Step-by-step training Videos to help you master the process
✓ Lifetime Access – Learn at your own pace and revisit anytime

KAYLA BEARD ADOBE LIGHTROOM CLASSIC PRESETS
What’s Included?
—
What if editing felt effortless?
Imagine having a simple, step-by-step process that finally makes presets work for you —no more guessing, no more endless clicking, no more frustration.
Just a clear, confident workflow that brings your vision to life.

It’s time to simplify your editing and speed up your workflow.
No more guesswork. No more endless adjustments.
Just a process that works—every time.

Introducing…
KAYLA BEARD’S
Preset process
PRESETS AREN’T ONE-SIZE-FITS-ALL, AND THEY NEVER SHOULD BE.
If you’ve ever invested in presets, hoping they’d transform your editing and help you create a consistent, recognizable style—only to end up feeling frustrated, confused, and stuck—you are so not alone. I’ve heard from countless photographers who have poured their hearts (and budgets) into preset packs that promise quick results but deliver inconsistency, stress, and more time spent second-guessing every slider.
The truth is, most presets aren’t the problem—it’s the lack of a process. One-click solutions can’t account for the unique lighting, tones, and moods of your sessions. Without a clear system to guide you, editing becomes a guessing game. You click around aimlessly, trying to “fix” your photo, but never really understanding why it’s not coming together.
But what if there was a better way? A process that didn’t just apply a look but actually taught you how to create one—intentionally, beautifully, and with full confidence?
That’s exactly why I created The Kayla Beard Preset Process. This isn’t just another preset pack—it’s a complete, four-step Lightroom editing system designed to give you both the efficiency of presets and the power to refine and adjust with ease. It’s simple, strategic, and adaptable to your style.
You’ll start with a strong foundation, refine and polish your edits, select a tone that fits your vision, and apply any final touches with precision. No more being overwhelmed. No more endless clicking. Just a thoughtful approach that makes Lightroom feel like your creative partner—not your biggest headache.
This process will change the way you edit forever—helping you save time, stay consistent, and feel proud of every photo you deliver.
STEP 1: Foundations
Start with a base preset to open up your image—adding light, contrast, and that first touch of polish.
STEP 2: Refine
Apply quick refinements to perfect exposure, enhance contrast, and bring your image to life.
STEP 3: Tone Profiles
Choose your preferred color tone and easily adjust its intensity using powerful, flexible profiles.
STEP 4: Color Refinement
If needed, fine-tune your final look with targeted color adjustments for that just-right finish.
KAYLA BEARD ADOBE LIGHTROOM CLASSIC PRESETS
In Action
—
How it works…
Foundations – Start with one of five base presets to enhance exposure, contrast, and balance.
Refine – Use quick refinements to fine-tune brightness, color, and clarity.
Tone – Select from seven tone profiles and adjust intensity to fit your aesthetic.
Color Refinement – Apply one additional refinement if needed to achieve the perfect final touch.
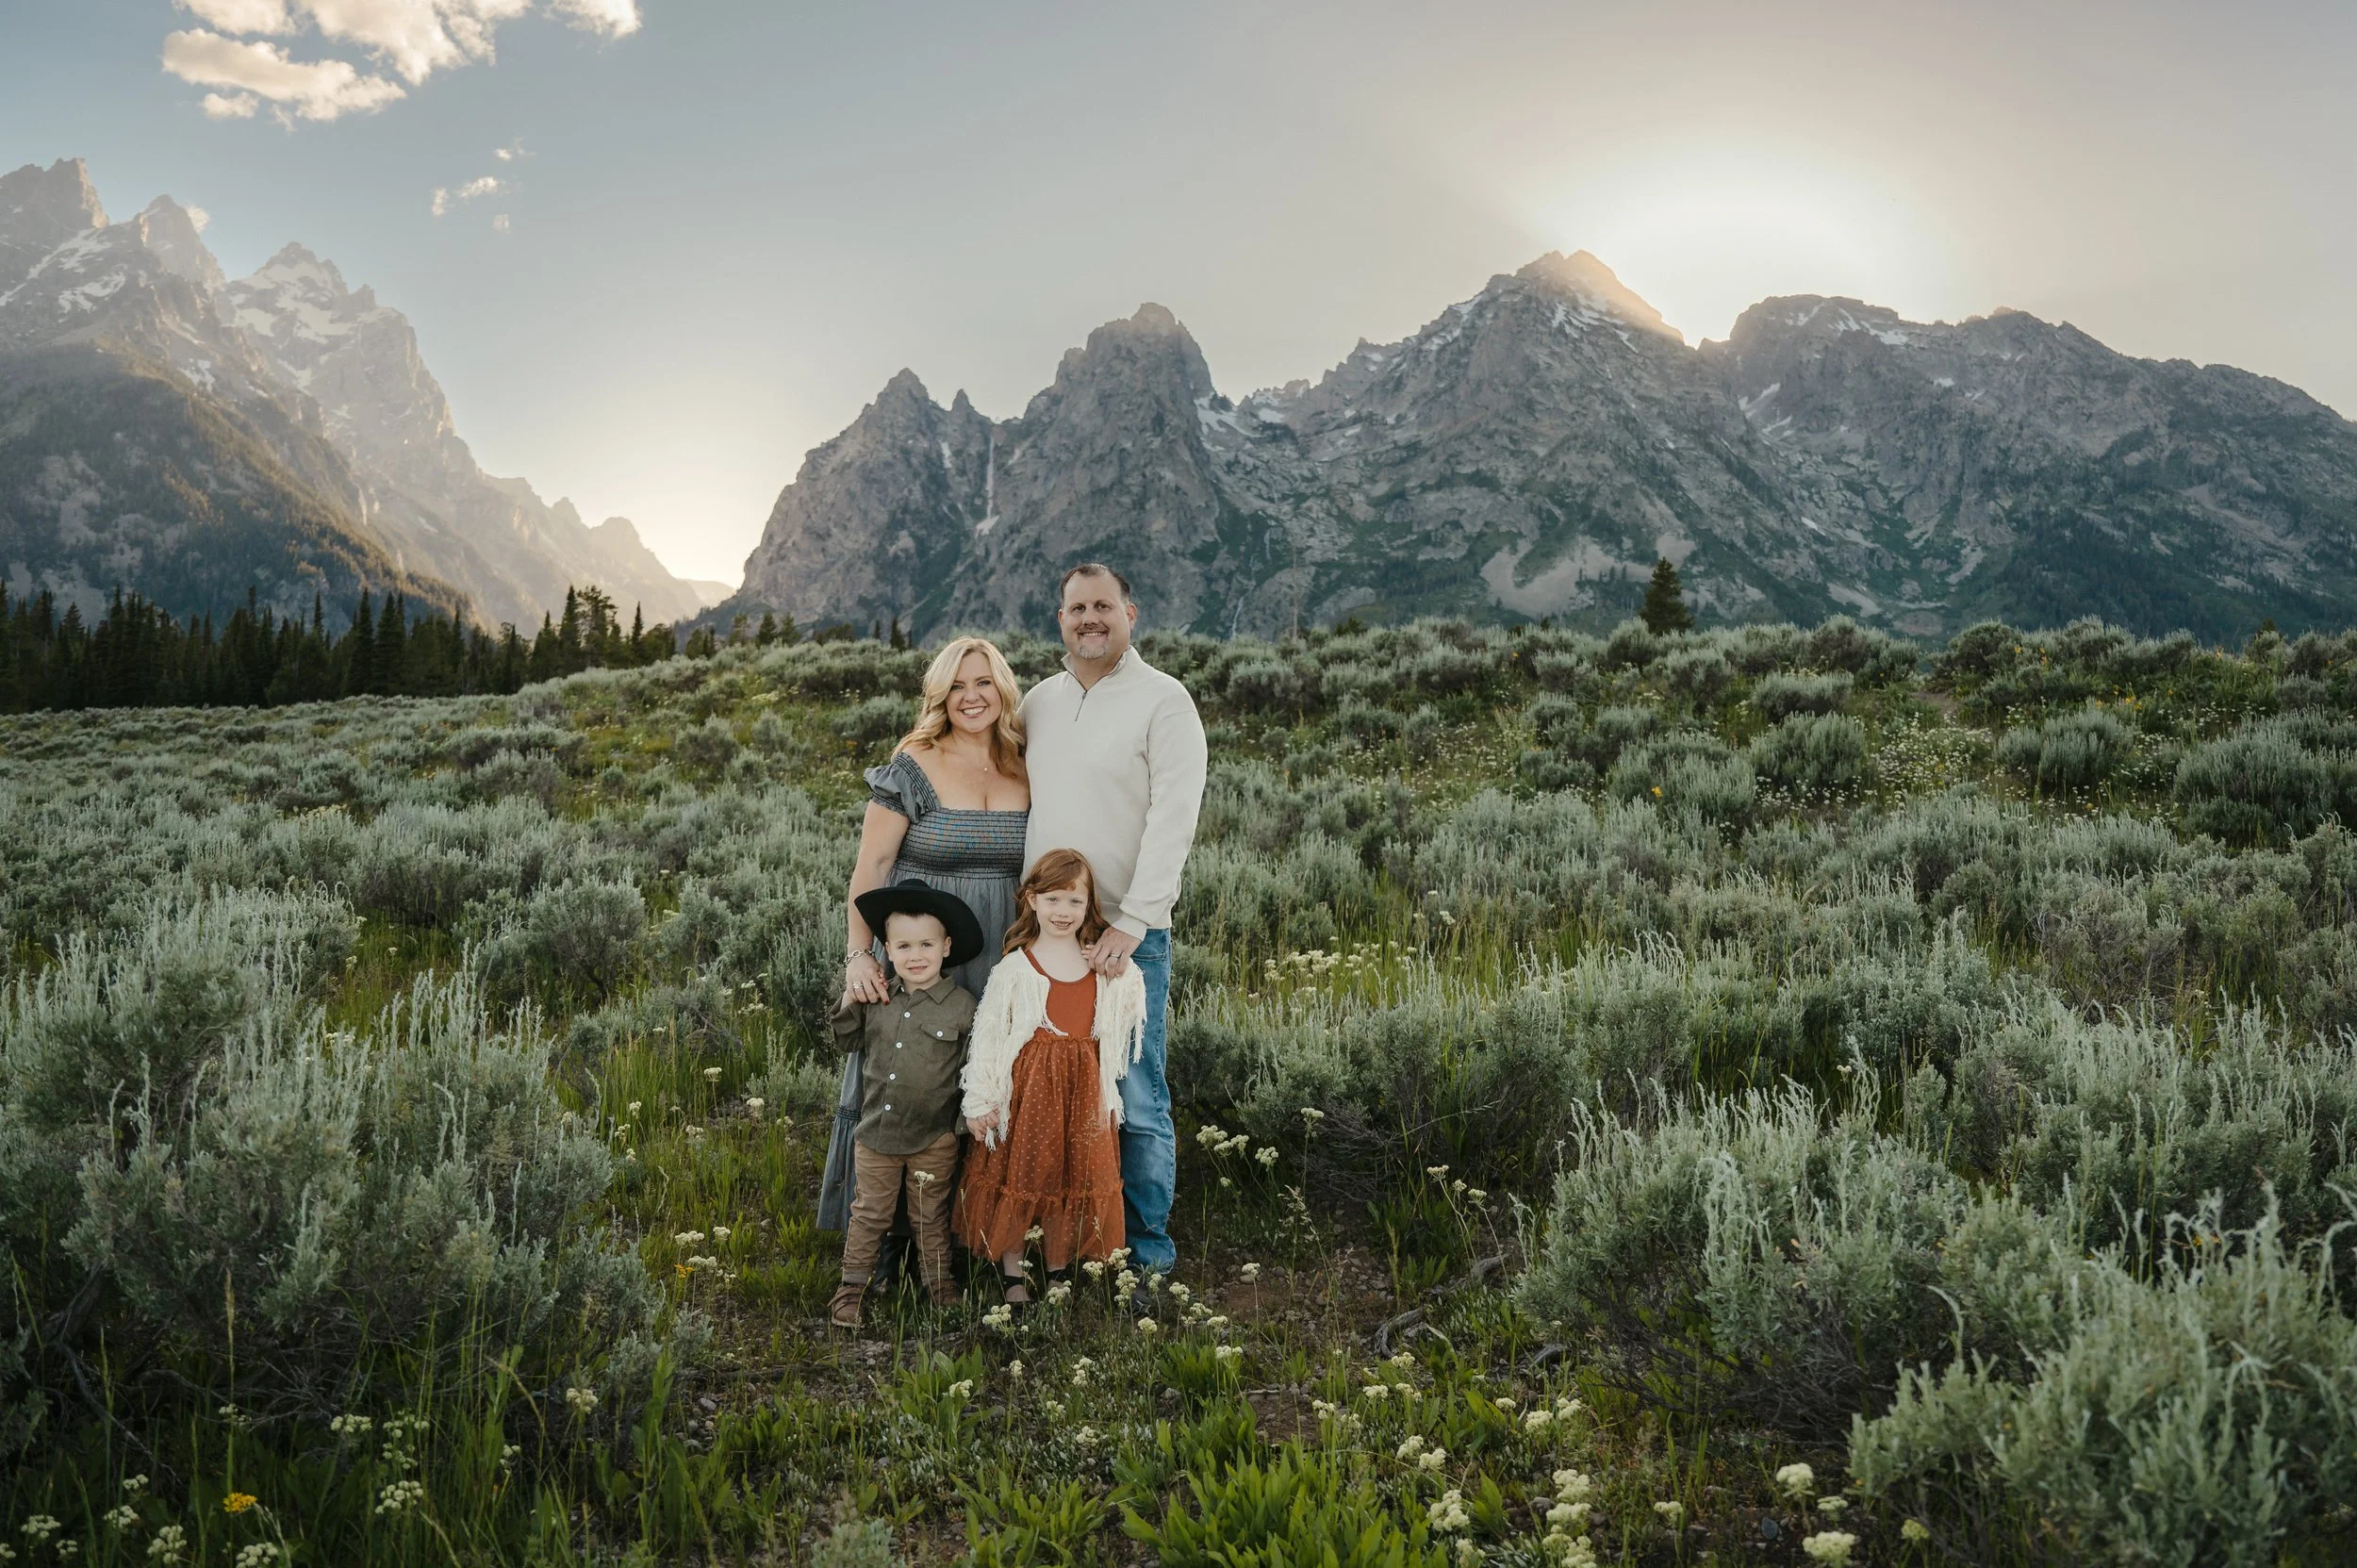
KAYLA BEARD ADOBE LIGHTROOM CLASSIC PRESETS
Before & After
—
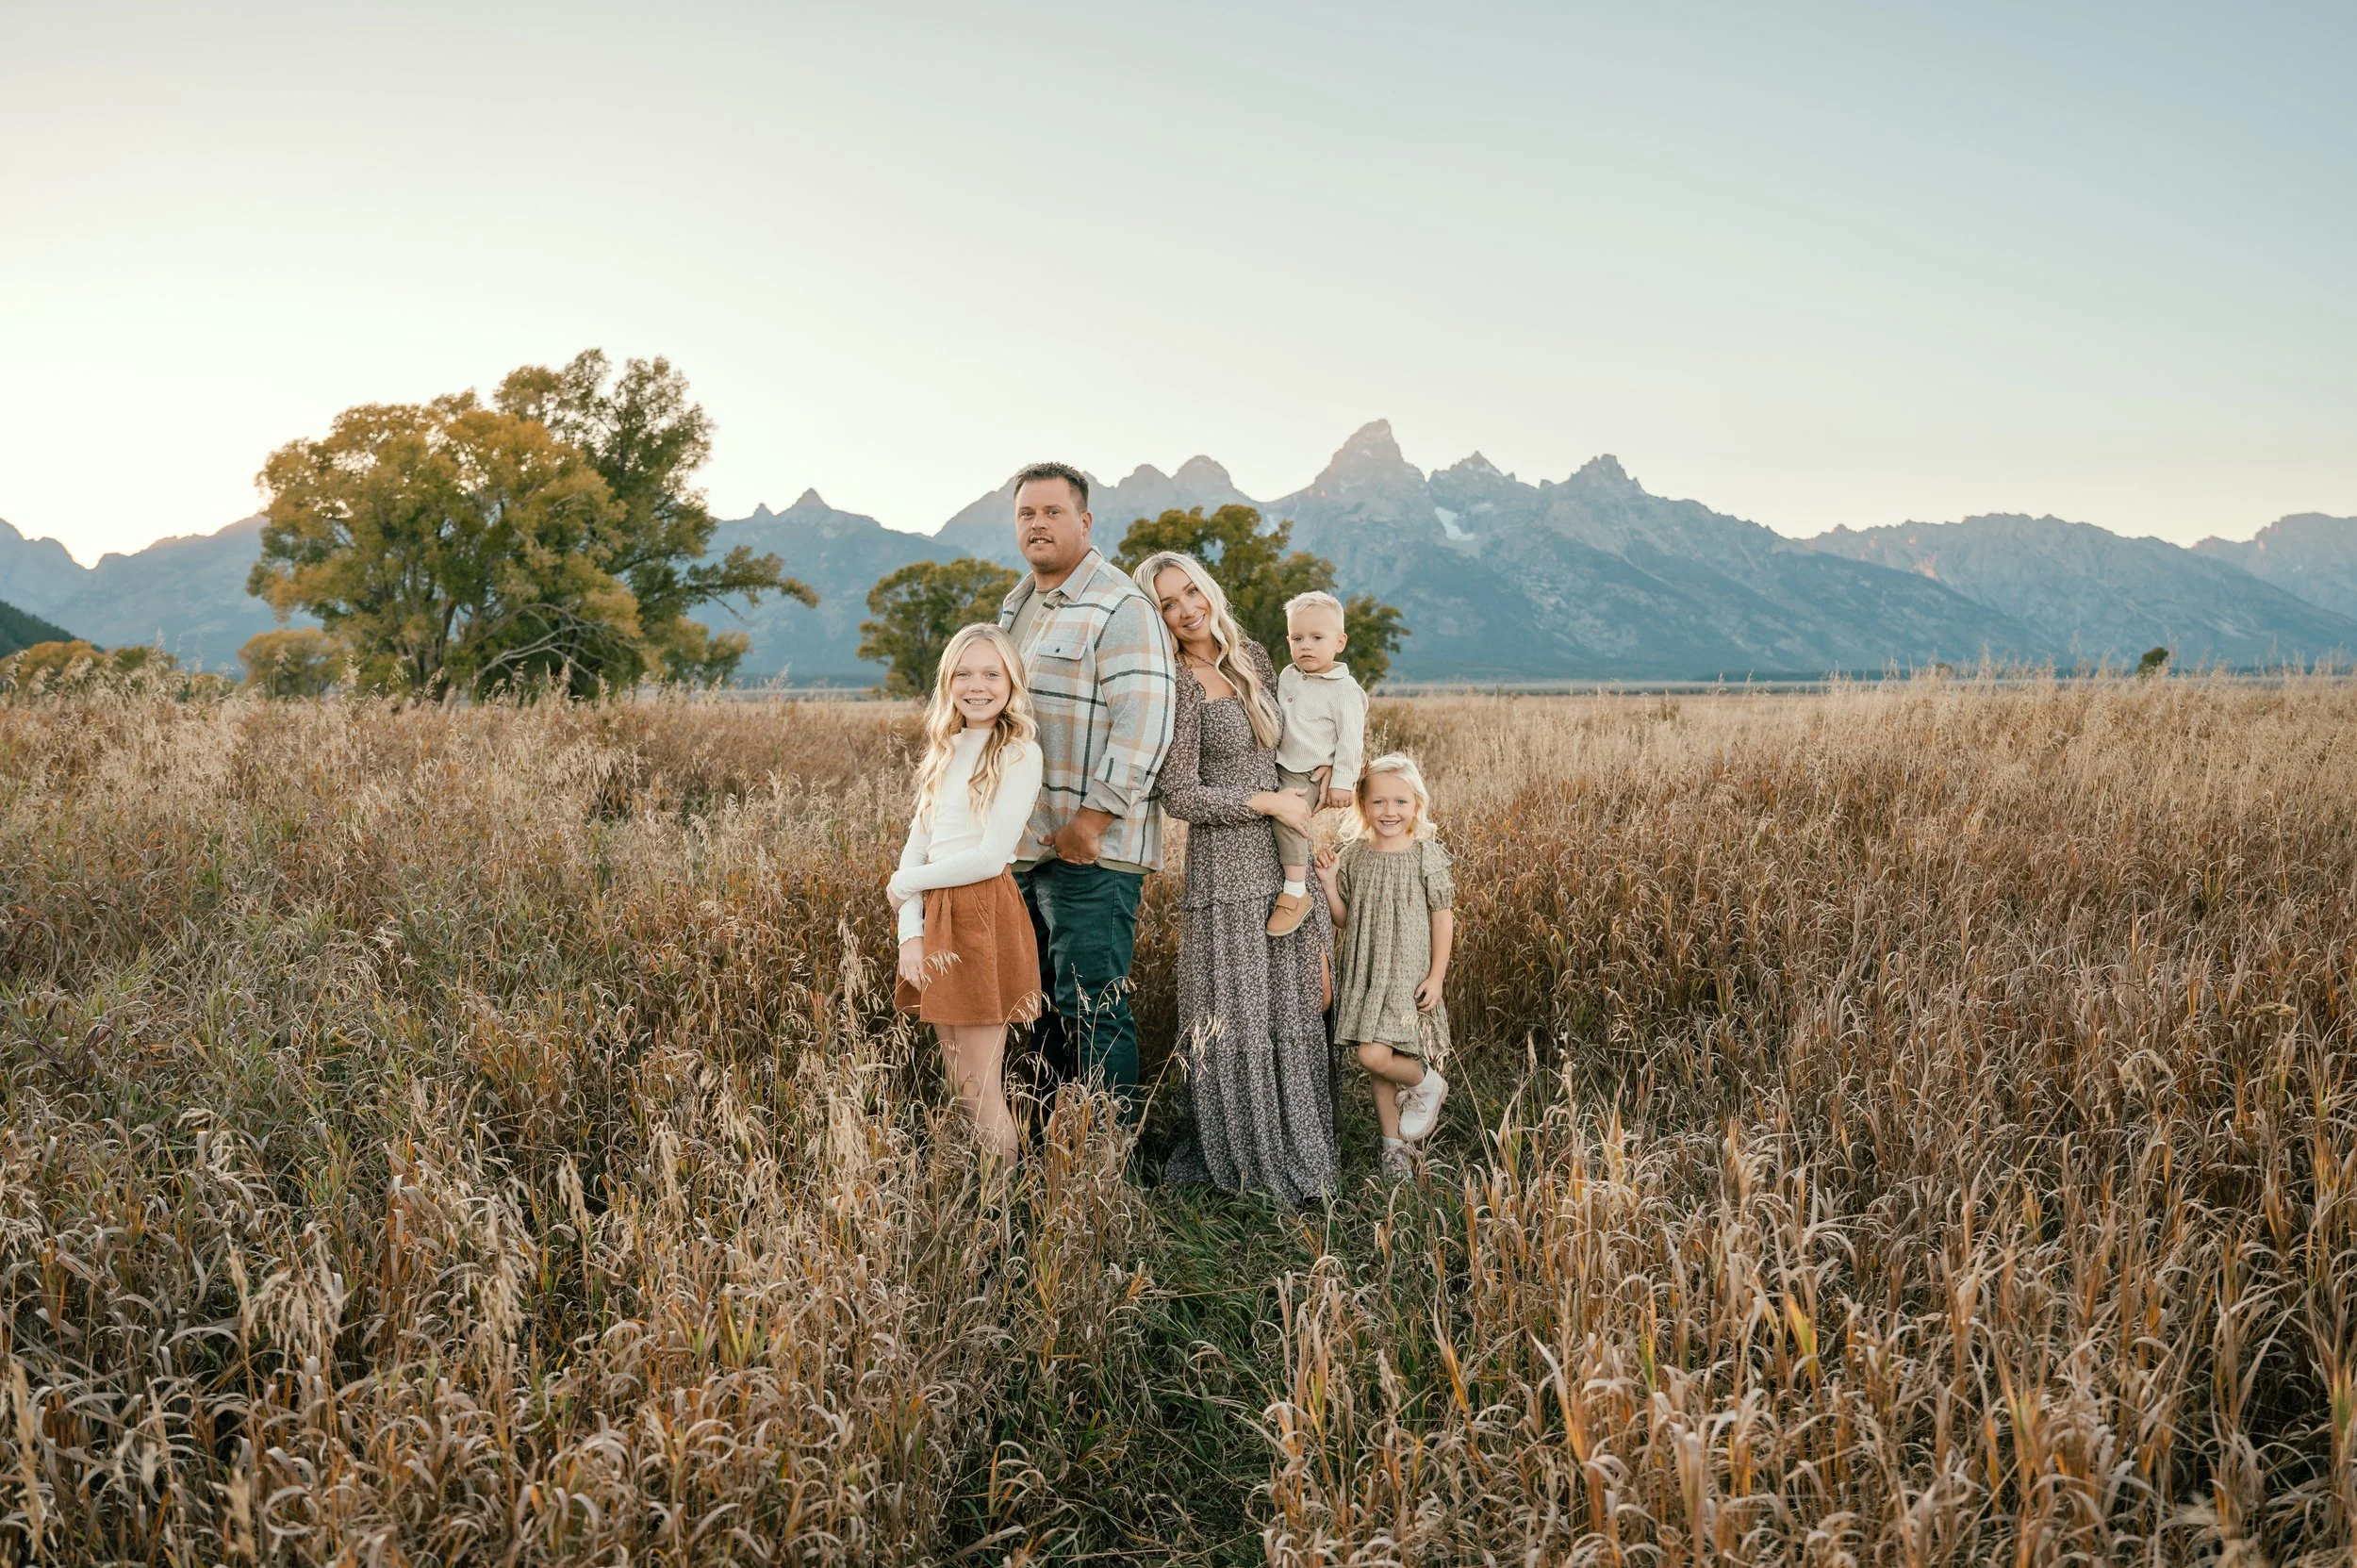
KAYLA BEARD ADOBE LIGHTROOM CLASSIC PRESETS
Showcase Gallery
—


Meet Kayla
photographer, business coach
A farmers wife and momma to three littles with a fourth child photography business. The photography business has been my main business of focus for over a decade with two other businesses’ my husband and I own and operate together. My business is known for serving and connecting with my clients and running my business’ as efficiently as possible. After building a 5 figure per month photography business, I now teach and mentor other photographers to run and grow their business efficiently.


